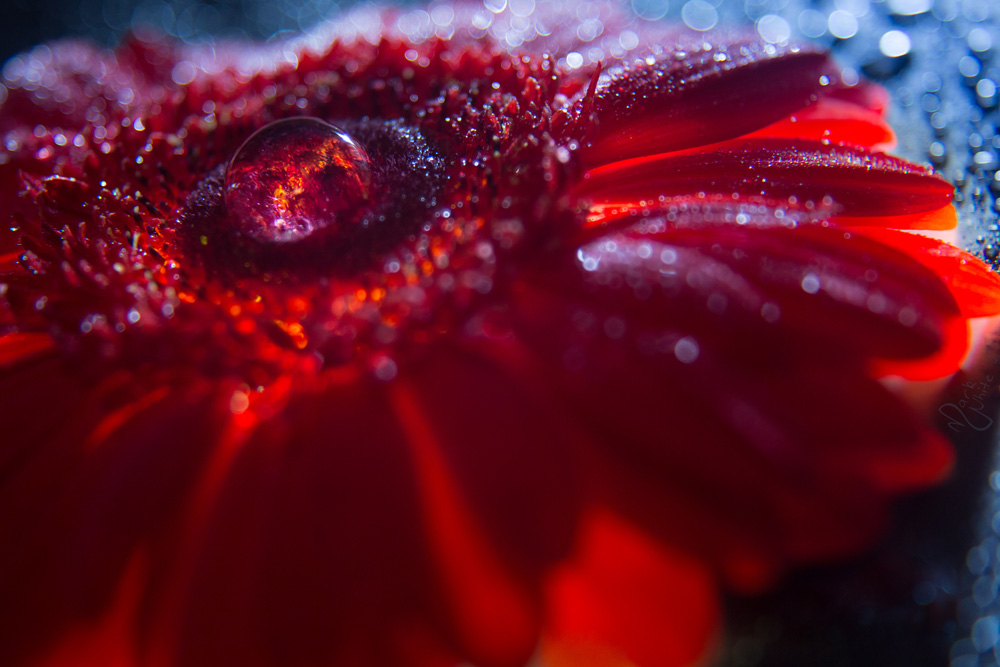
Every so often I marvel at the ability of plants to repel water, and after seeing a flower a few months ago hold an enlarged water droplet (or what looked like one), I decided I wanted to experiment with how I could use that with macro photography. I also wanted to try underlighting a flower more successfully than that of my previous attempts. The droplet encased nebular above is the result. It actually exceeded my expectations. Oh, and the image above is pretty much straight out of the camera with a little processing via Lightroom.
The first thing I decided on was how to restrict the underlight, which in turn would also be the background of the flower. I thought something dark would work best. I had an old product box which was promising. Originally I cut a small hole for the underlight, and then thought I would try a larger one, but that proved somewhat disastrous. The photo below shows the patch up job I made with some cardboard – so make sure you have a few boxes, or more cardboard to patch with, as the right hole size will vary. The underlight hole should ideally only be the size of the cutout receptacle (see the second image with the underside of the flower).
The following shows the box I used, and how the strobe light was positioned underneath the box.
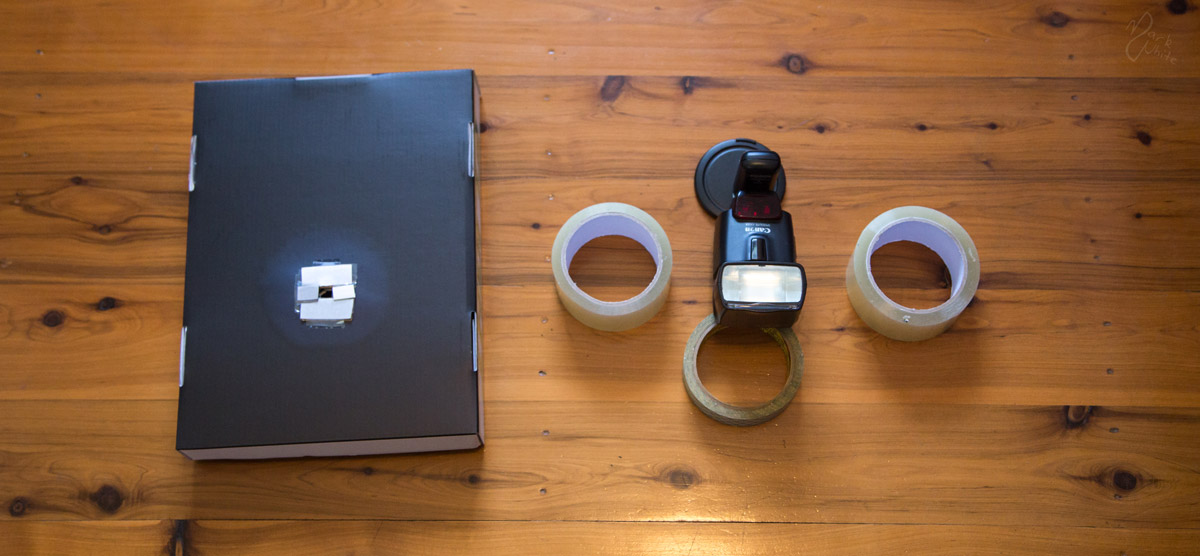
Left – A half cardboard box used to constrict the strobe light to only a small hole and provide a semi-reflective surface for the background.
Right – A wireless flash, and tape rolls to level everything. Unfortunately I didn’t have a cardboard box of sufficient height, so I had to improvise.
Once I had finished with the box, I started working on the flower – a red Gerbera. Carefully I tried to reduce the amount of plant matter between the receptacle and the “disk florets”. I wasn’t sure how much I need to remove to allow enough light through, so I removed as much as I though was possible before destroying the integrity of the petals. Below are the results. I also decided to puncture a few holes with a semi-thin wire to hopefully generate a few light rays.

- A bunch of towels to prevent as much light leakage as possible (the box wasn’t tall enough to meet the floor).
- A water dropper used to create the centre bubble.
- The hole where the strobe fires through.
- The flower with the bottom half cutout, and a few holes punctured through.
- A spray bottle for making a bunch of water droplets on the box and flower.
As with most macro floral photography, tiny water droplets can enhance the effect, so along with a water dropper to create the giant centre drop, I also used a spray bottle to spread small droplets on the flower and surrounding area. You can see the tools in the image above, and the resulting drops on the right most image below.
For the lighting I wanted to create a magic like effect. I had envisaged to make the droplets cast caustics onto the flower. Originally I tried a side light, but that didn’t have the desired effect, so I settled on a backlight which proved to work well – not so much for caustics, but still magical. The backlight created a bunch of bokeh and since the surface of the box was slightly reflective, it illuminated the back of the box a bit (which worked better than dull black). Since the underlight was mostly yellow (the flower tinted the white strobe), the backlight turned blue after adjusting the colour temperature. This was great as it meant I didn’t need to use a gel to generate some colour contrast. You can see the lighting setup below. You’ll notice the towels. They were to stop most of the light leakage from the box. Unfortunately the box I settled on wasn’t high enough to enclose the strobe.

Left – Shows the lighting arrangement. One strobe used for the backlight and a little fill from subsequent bounce light. The second strobe is under the box (underlight) with a small hole to allow the light through. The towels were used to suppress the light coming from under the box.
Middle – Shows the flower on top of the underlight.
Right – Shows the water droplet arrangement. The underlight did not fire in this shot.
When I shoot these types of scenes, I always take a bunch of photos while experimenting with the setup. Below are three variations to the final image. I thought the “Dead Nebular” was interesting as it shows how much the underlight contributed to the overall look of the final shot.
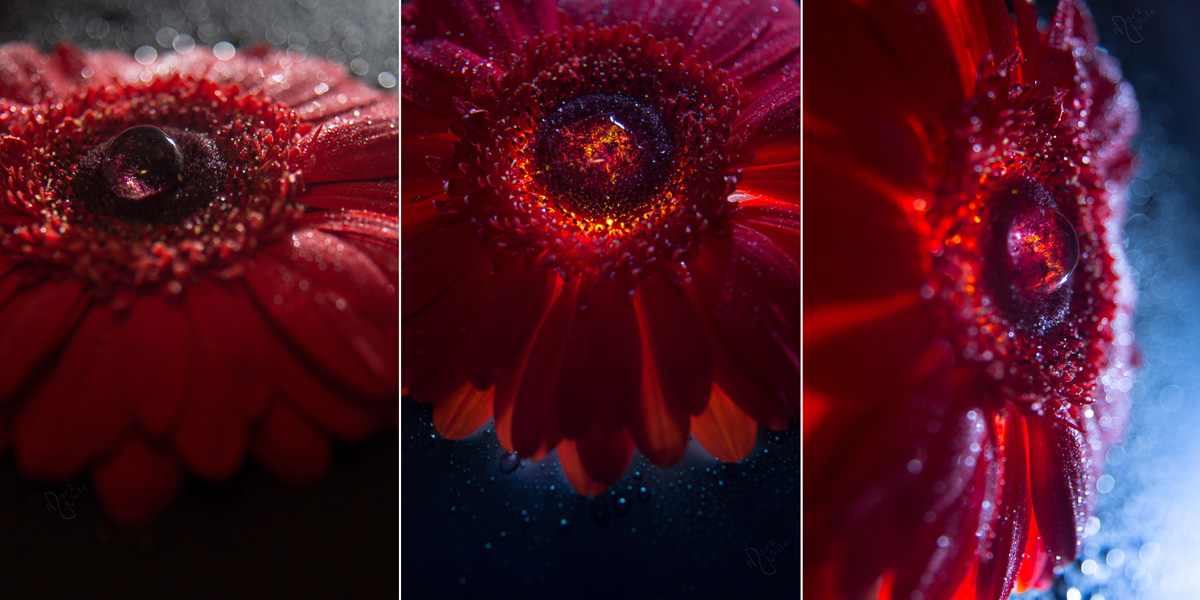
Left – The “Dead Nebular”. An example of what the flower and water droplets looks like without the underlight.
Middle – An overhead view of the flower. The centre water droplet had leaked a bit, so not fully spherical (this is actually one of the issues with the holes I made).
Right – Another perspective.